
How to gelli print on fabric.
Before we start discussing gelli plate printing, let’s start with the elephant in the room. Is gelli printing a monoprint or a monotype? The terms are sometimes used interchangeably, although they are not exactly the same thing.
According to The Printmaking Bible, a monoprint and monotype are created by placing an image on a surface and the print that is produced cannot be exactly replicated.
“A monotype is a singular print created through an acknowledged process that can be learnt and replicated to gain similar effects with different images”
“A monoprint is a singular work that can be produced without the need to undergo a series of steps”
If we go by those definitions, gelli plate printing falls under a monotype. Monotype is the more painterly technique in printmaking, making it flexible, spontaneous and expressive. It is a technique that goes well with other methods.
More “traditional” monotypes tend to be produced on surfaces like acetate, glass, or metal plates. Gelli plate printing comes from the hectograph. A hectograph is a “direct-process duplicator using either gelatin or the spirit process for making a master copy.”
Many crafters and art journalers like gelli plate printing as an additional technique to their work. I discovered the technique when I was trying to introduce printmaking to third graders. I really liked the flexibility and the layering options, especially in conjunction with the other techniques I enjoy. Although it may seem like a simple technique, you can get complex work with it.

HOMEMADE VS STORE BOUGHT GELLI PLATES
Gelli plates can be bought or homemade. There are a ton of homemade recipes for gelli plates, so why reinvent the wheel? When I started doing my research, the recipe by Karlyn Holman kept popping up so I decided to give it a try.
Karlyn Holman’s recipe:
· Two 6 ounce bottles of Glycerin (12 ounces total).
· Seven (7) packets of Knox unflavored gelatin. Available at your local grocery store.
· One and a half (1 ½ ) cups of boiling water
· One 8" by 8" pan with a smooth bottom.
· Pour room temperature glycerin into a microwavable bowl.
· Sprinkle gelatin into the glycerin and slowly stir.
· Pour the boiling water into this mixture. Stir slowly.
· Place in the microwave and give it an additional 45 seconds.
· Pour into an 8" by 8" pan and allow it to set up on a level surface.
· Rip a piece of paper towel to fit the eight inch pan and slowly drag it across the top.
· This will clean the top of any foam or bubbles.
· Let set for several hours.
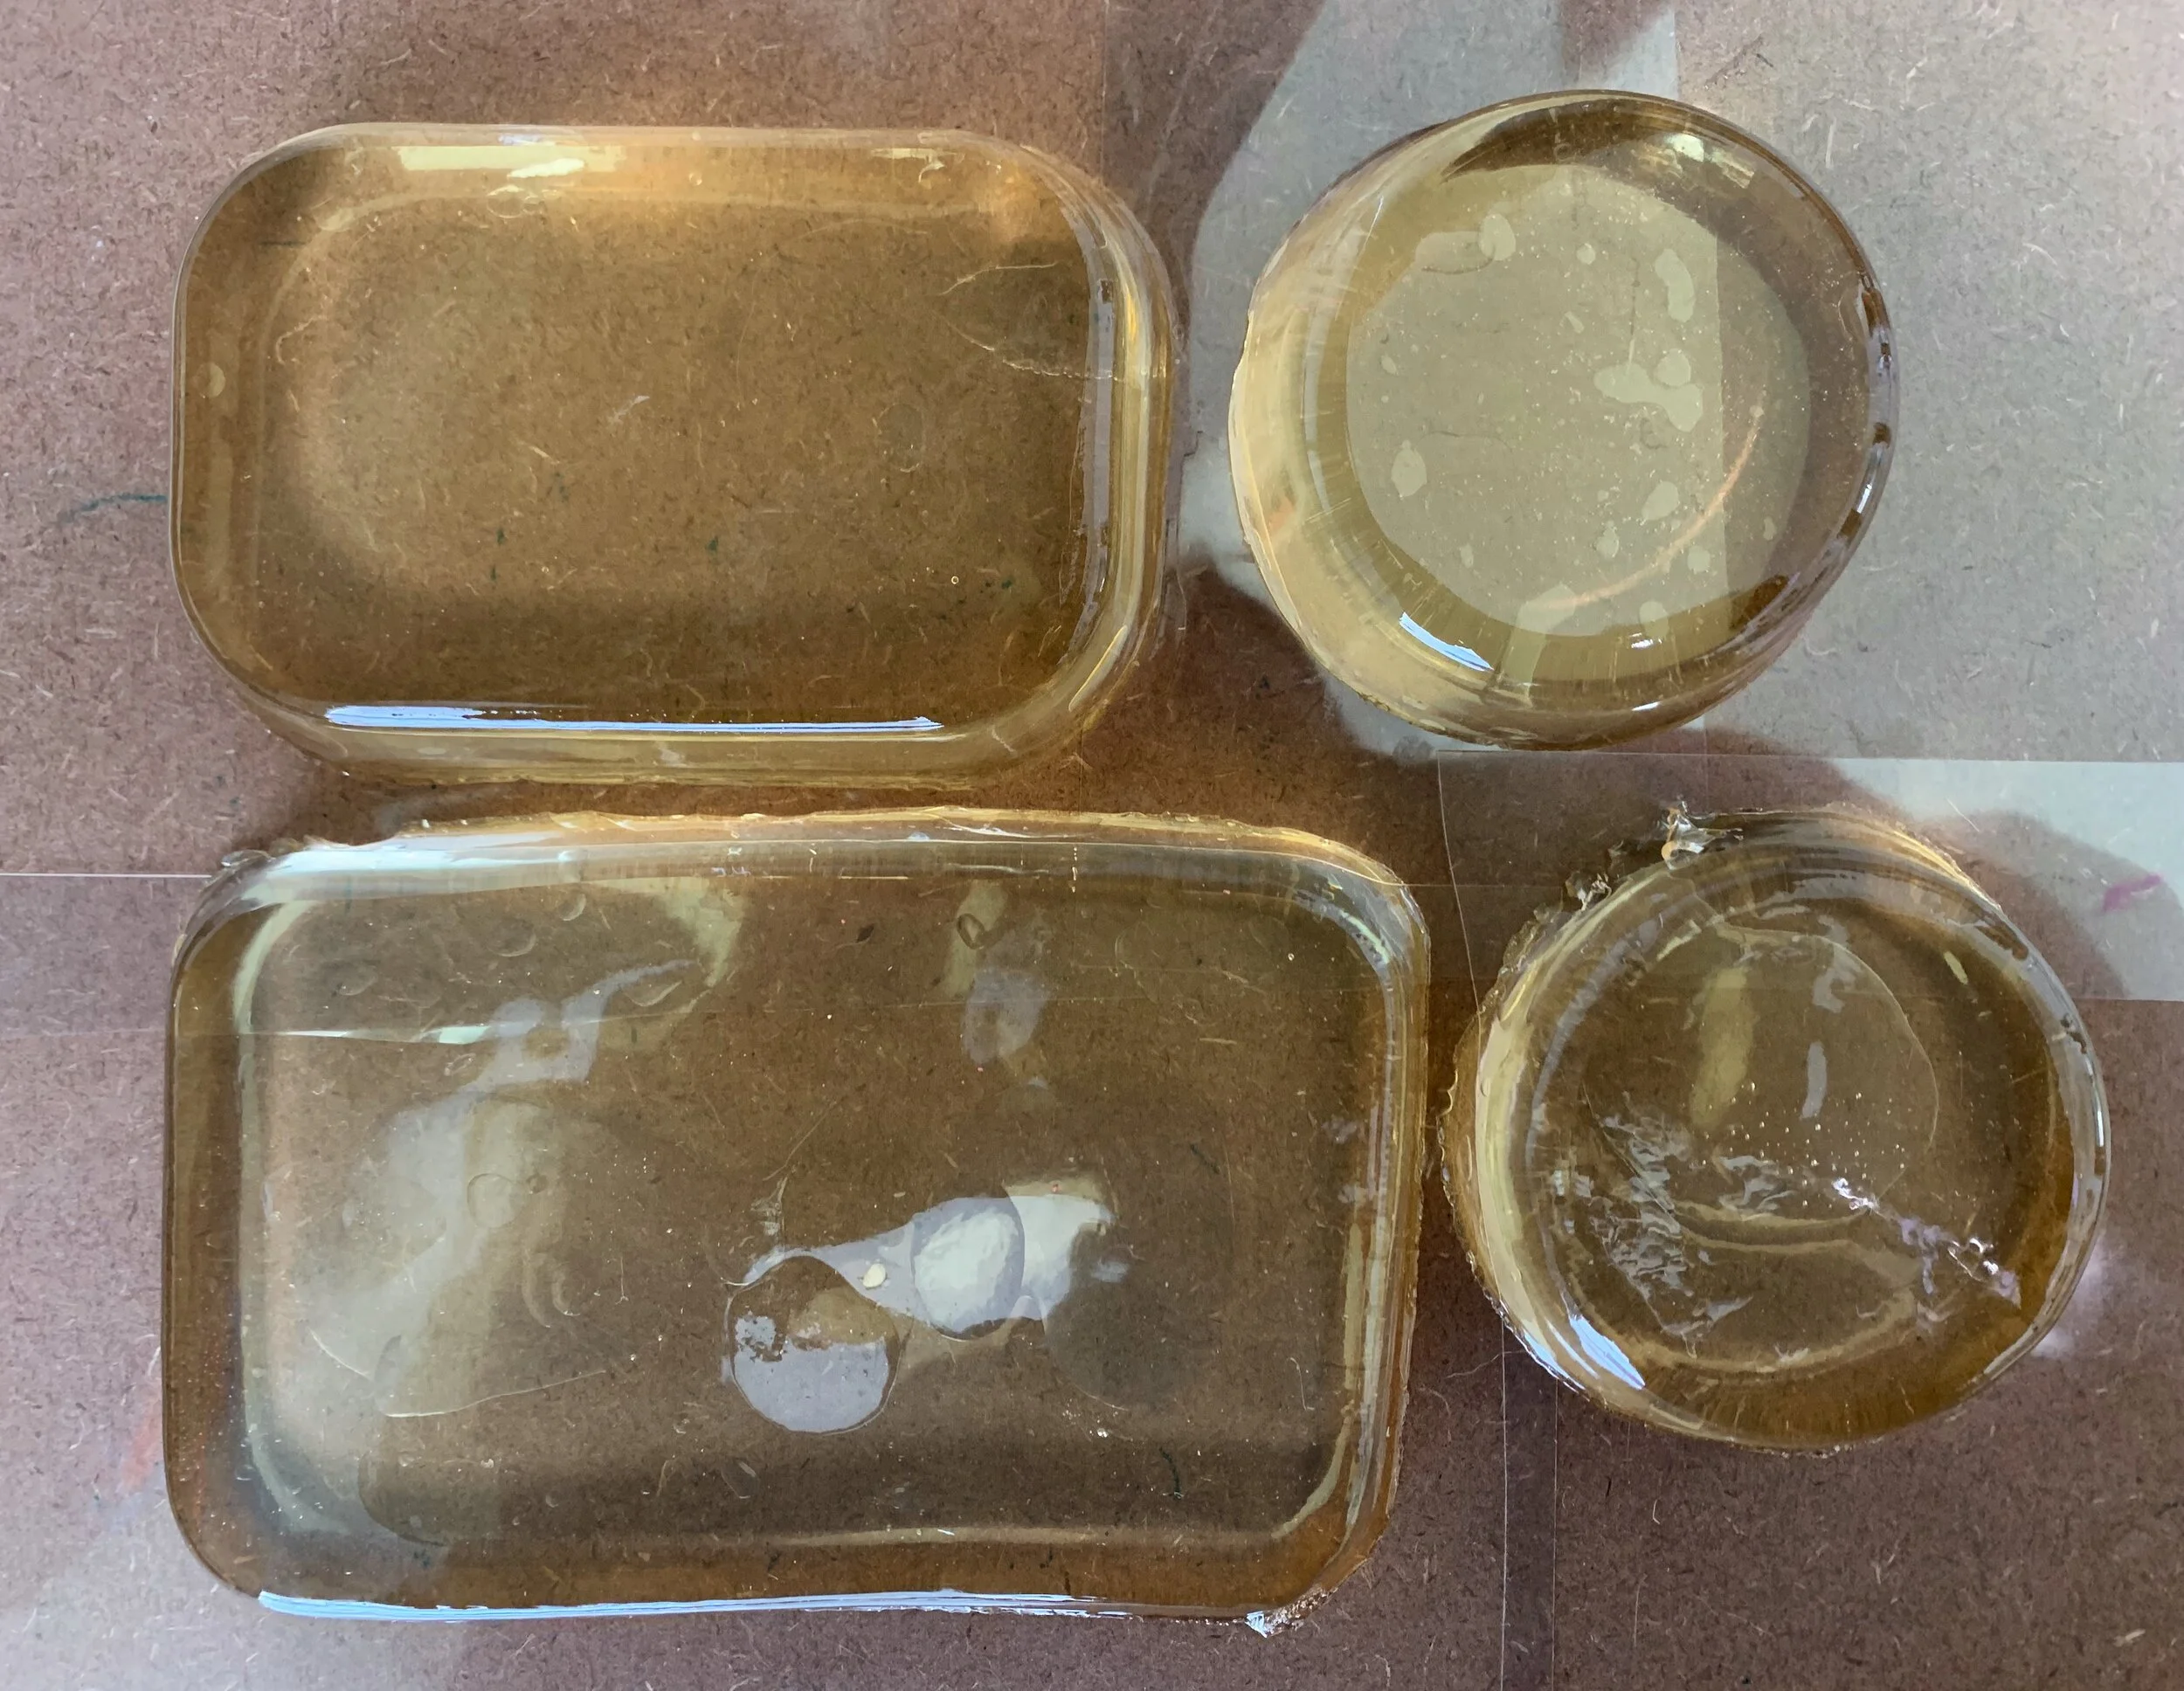
I did change it a little bit, and I did not use a paper towel to get rid of the bubbles (I just moved them out of the way with a toothpick). I also did not use an 8”x8” pan. I actually poured the glycerin and gelatin mixture into a bunch of different size glass containers.
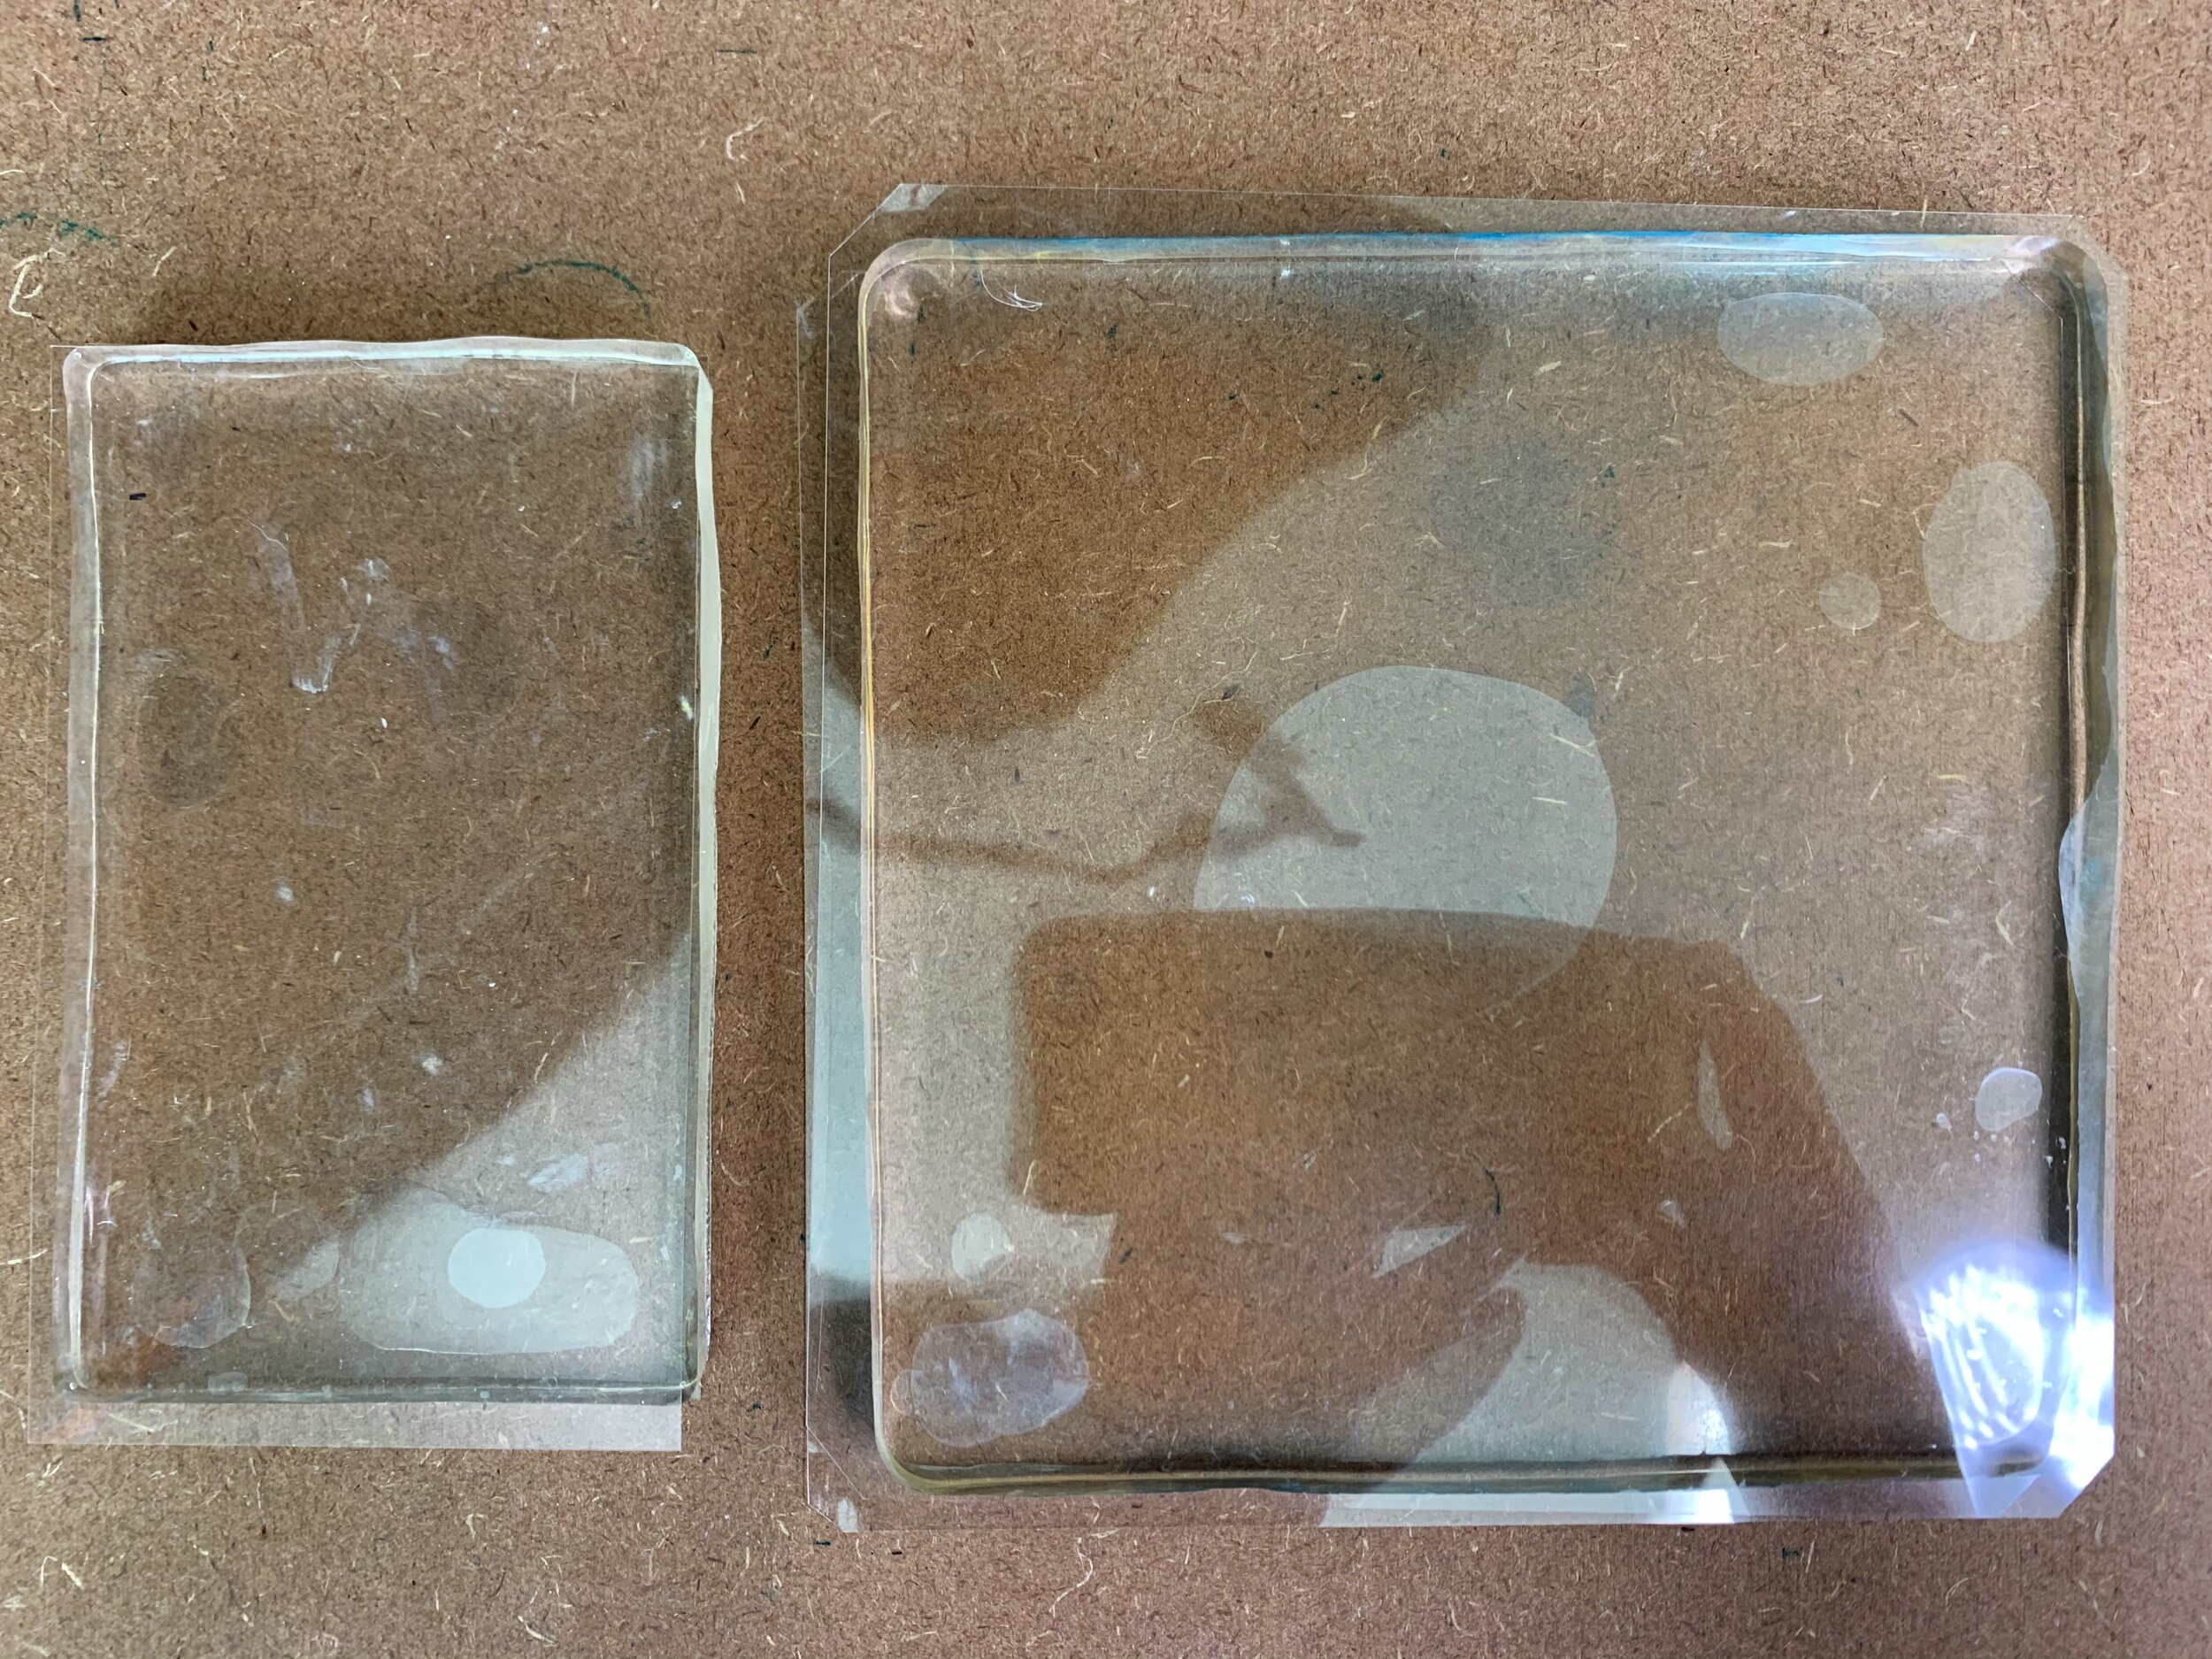
Store bought gelli plate is on the left while my homemade gelli plate is on the right
Homemade gelli plates can be economical and easy to work with. If you need a different size or the plate tore, you can just heat it in the microwave and keep printing. The one downside to them is that their shape is more wiggly and slippery.
If I try to set the homemade gelli plate on my print, sometimes it feels like it will slip, or it does not give me a clear edge. Sometimes the effect works with the designs, other times not so much. Therefore, if I want a clear edge or image, I use my store bought gelli plates.
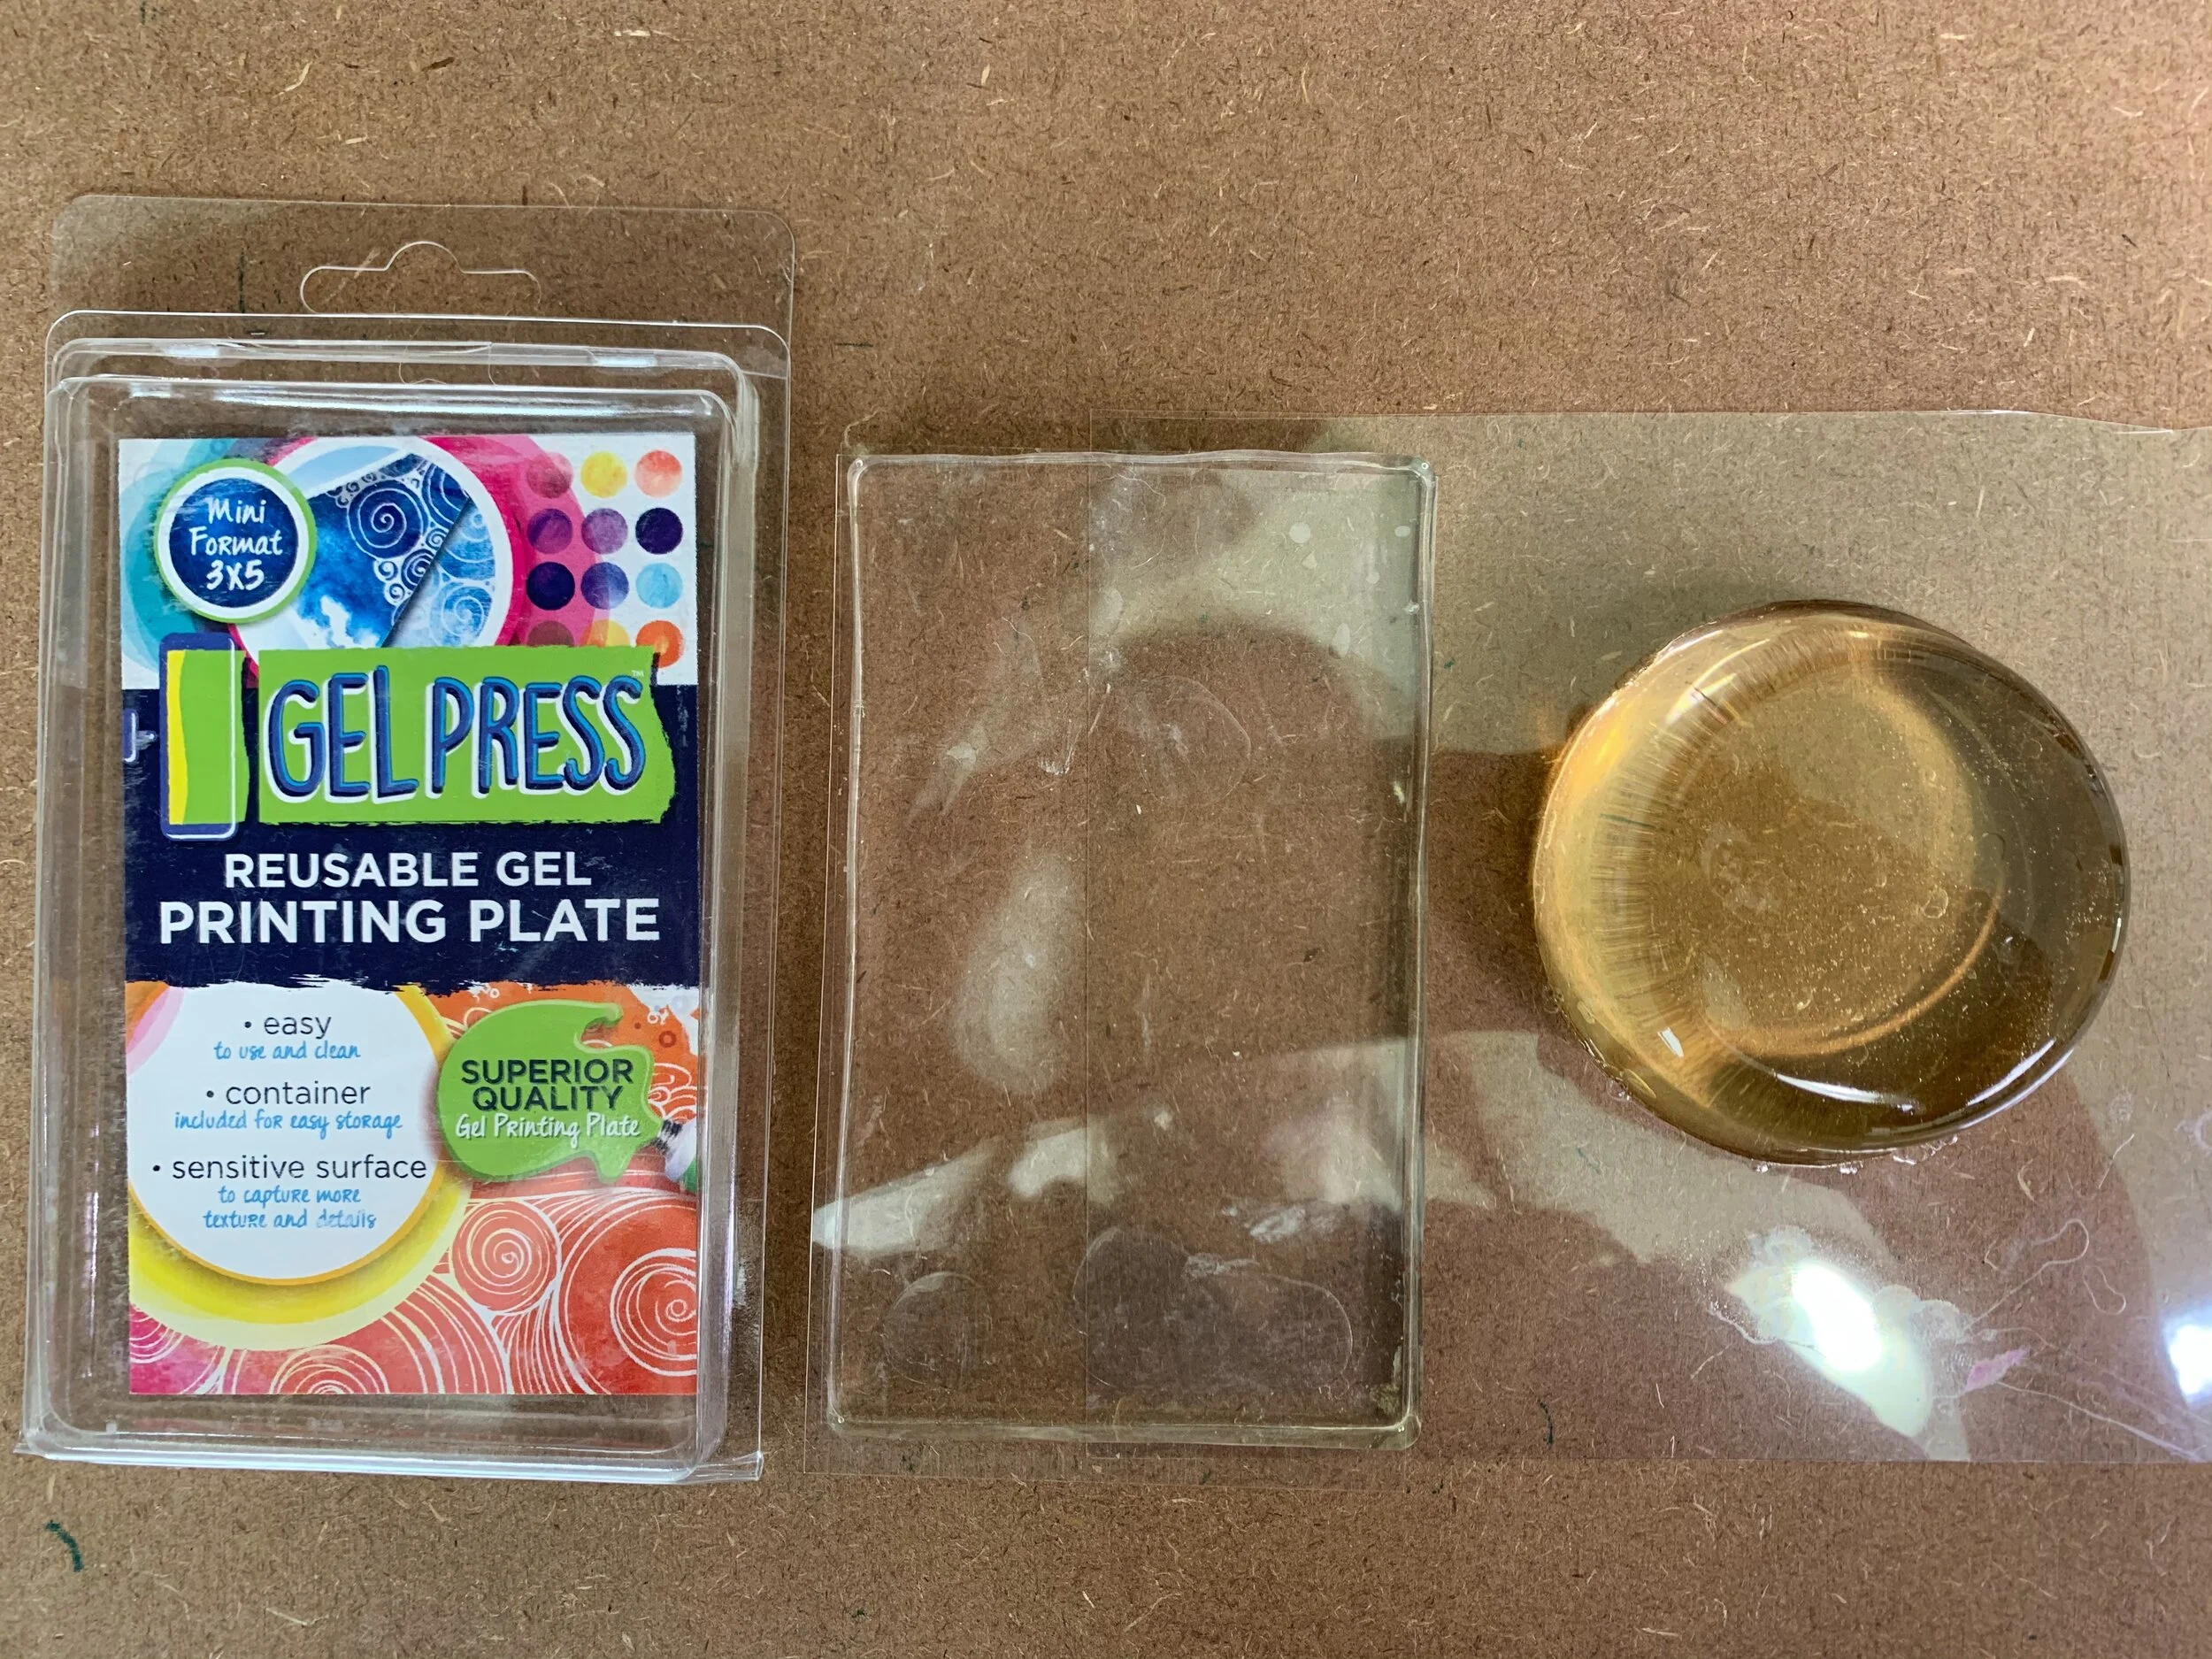
Using store bought gelli plates can be more convenient. They are easier to clean and store, they keep their shape better and you can find them in a good variety of sizes and sometimes shapes. There are different brands of gelli plates you can purchase: Gel Press, Gelli Arts and Speedball’s gel printing plates.
INKS
Most gelli plates work great with water-soluble inks although you should also look at the product specs since they might differ. I have used acrylics, tempera and water-soluble printmaking inks.
Gelli Arts recommends acrylic paints although you can also work with water-soluble printmaking inks, oil-based paints, rubber stamp inks and fabric paints.
Gel Press recommends acrylic paints, but you can also work with tempera paints, oil pigment sticks and alcohol-based inks.
Speedball mentions that their gelli plates are specifically formulated for any type of printmaking ink.
The best way to find out if you like working with the inks, is to just see how they work and print. Printmaking tends to be all about personal preferences that match your art practice and style.

TOOLS
There are different types of techniques and tools to use for gelli plate printing. The following are just some tools I like to use. However, this is not the end all be all of tools.

You want a brayer to roll on ink. A soft brayer tends to work best. I have used the Inovart soft brayer. It snaps on and off, making it easy to clean off the ink at the end of the day and it is economical. You can also use a baren to press the image although your hand or a spatula can work too.


Having brushes to paint on designs and layers is a must. At first, I used brushes that I had laying around in the studio. Any brush will work, but I found out that using silicone color shapers are the best since they do not absorb the paint but rather apply, move and remove it.
I don’t feel like you need a ton of tools to create gelli prints, but you also need to be able to get into the groove of your artmaking. There are pattern templates and stencils you can also use. Creating something is very personal, so test some tools out to see what you like working with.
FRABIC
I really enjoy printing on fabric, and before I chose the type I like to work with most, I tested different fabric swatches. When I was doing my research, I found that muslin, linen and cotton where recommended a lot for printing, but I wanted to run some tests. Some of the fabrics I printed on were:
Cotton Muslin: I like how my edges were clear but wasn’t too sure about the texture of the fabric on the image
Muslin: I really liked how my images showed on this fabric, the ink looked even, and the edges looked clear.
Cotton Broadcloth: I really liked this fabric; I like the images that I got and that I could do several layers
Cotton Jersey: bad, bad, bad
Hemp: the texture of the fabric was too prominent, the image was not clear
Hemp/Rayon: the image printed really clear, but I was not sure about the rayon blend
Hemp/Cotton Muslin: I did not like the way the image printed, the threads were too far apart
Hemp/Cotton Jersey: no way I am printing on this, it is stretchy and the imaged was all blurry
Hemp Canvas: horrible for printing, the image was not clear, and the texture was too prominent
Bleached Duck: the texture of the fabric was too prominent, did not like it
Bamboo Rayon: I really liked the way my image was really clear on this fabric; I was not sure about the rayon blend and it was really thin as well
Linen: I really liked the way my image printed but the swatch I had was too thin
Bleached Linen: the texture of the fabric was too prominent
Essex Linen: the texture of the fabric was too prominent, and the threads were too far apart

I would highly recommend getting some swatches to print on to see how your inks react to them. Fabrics have different weights. Some of the swatches I got were 2.9 oz, 3.5 oz, 3 oz, 4.4 oz, etc. The weight of the fabric will depend on the thickness of the threads among other things.
I printed on a cotton muslin 3 oz and a muslin 4.4 oz. Now, if I had not ordered the swatches and seen the fabric, I would’ve assumed that the image printed would’ve been really similar. However, when I printed, I liked the 4.4 oz muslin a lot more than the 3 oz cotton muslin. I would also make sure that your fabric is ready to work with, meaning it comes washed and it is PFD (Prepared for Dyeing). If you are not sure, I would wash the fabric before printing in order to remove the sizing (chemicals in the fabric) and then iron it. Dharma Trading Co. is a great place to buy fabric.
The lesson I took from this is test your fabrics several times before deciding to go with a particular choice. Swatches are sold at a very affordable price and sometimes are sold in sets, which takes some of the guessing away. When in doubt, you can always email their customer service and ask them to send you swatches for your particular need.
HOW TO CREATE A GELLI PRINT
In this first video, I am printing the background of a design using a gelli printing plate and a single color. I am placing some of the ink on the gelli plate and moving it around with a palette knife. I then use the brayer so even out the ink on the plate.
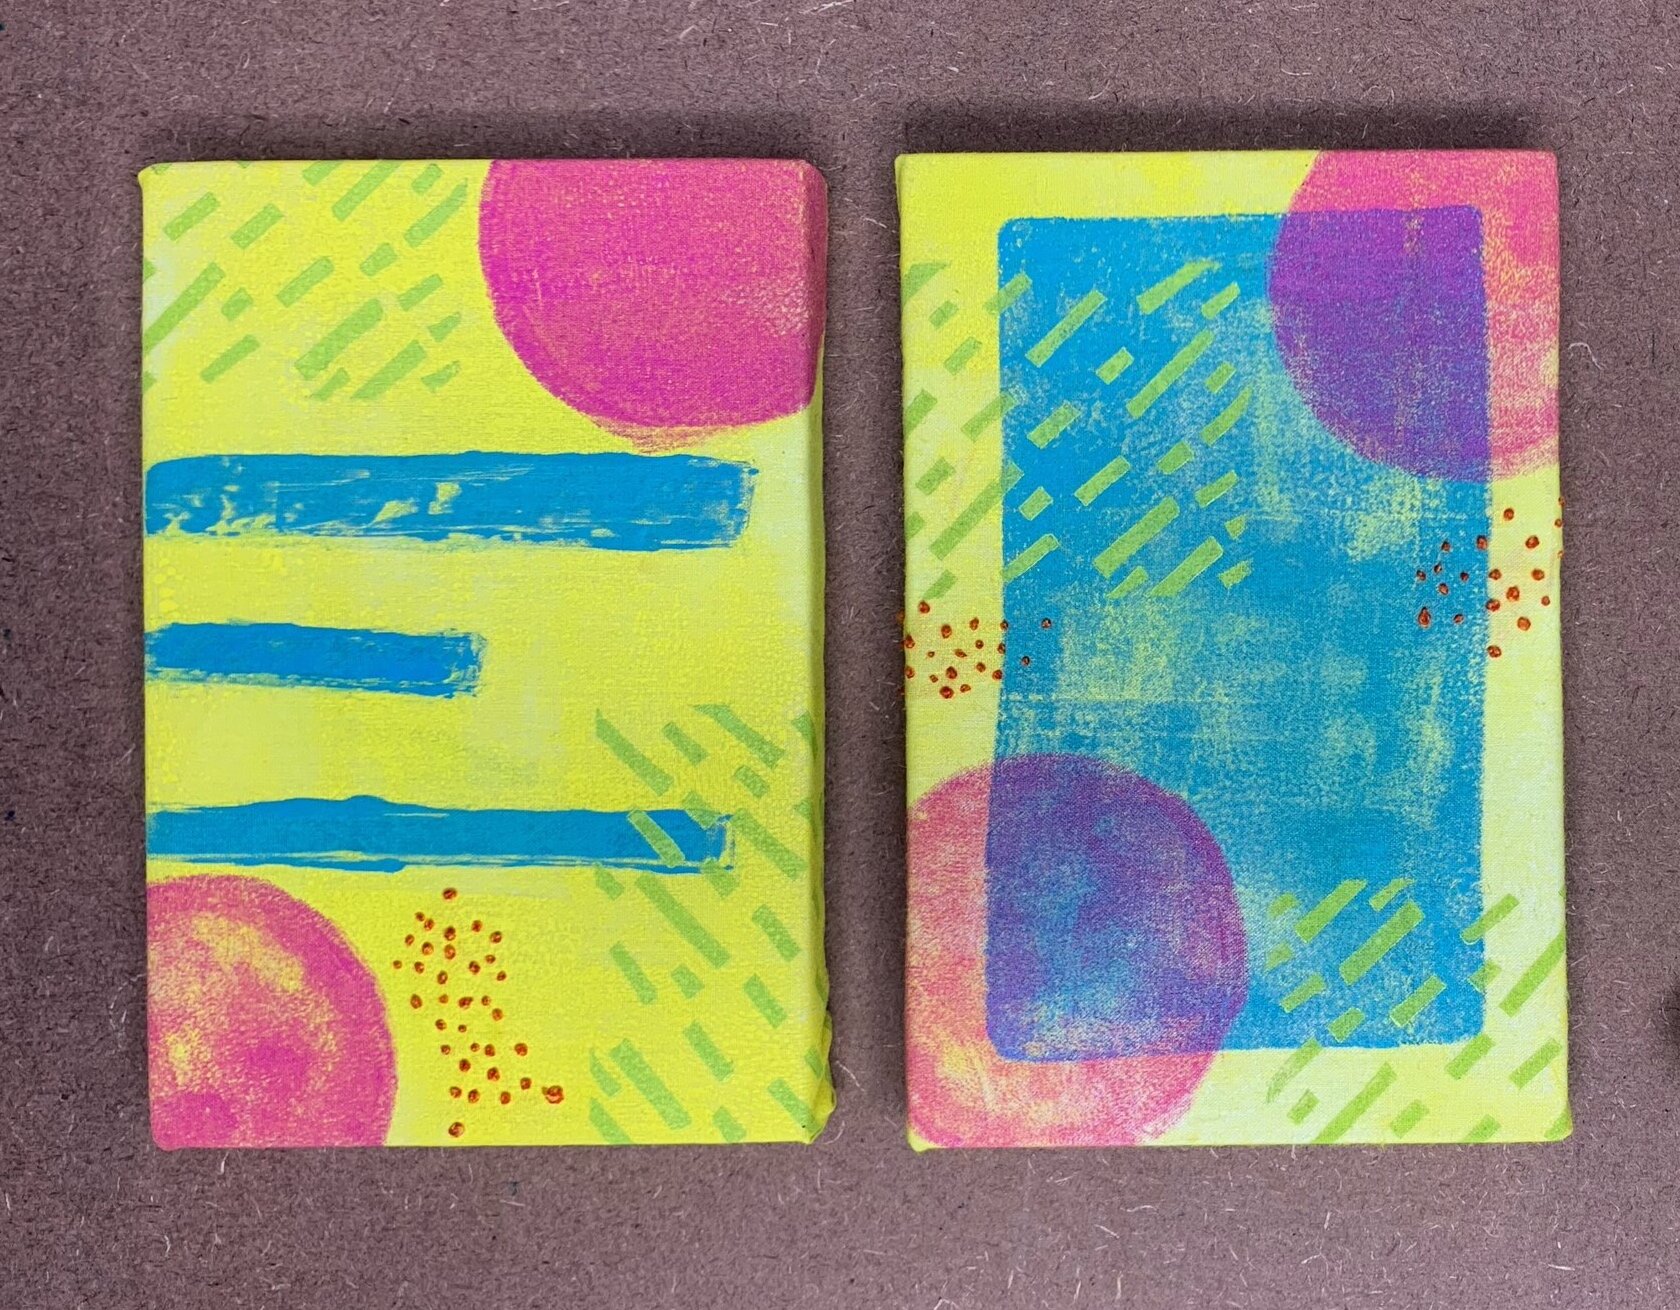
Underneath the gelli printing plate I have a printed layout that I am using to place my fabric on the correct spot. I then use my baren to press down the fabric and print on the yellow background. Since in printmaking you do multiples, you would do this as many times as you need or have material for.
In this second video, I am working on the second layer of my design. I have two variations. For the first piece I am adding a solid rectangle using blue ink. It is essentially very similar to how I did the background.
I have my template and a smaller gelli printing plate. I have the guide for the size of my fabric, and I am placing my gelli plate on the spot I want it to print on my fabric. I roll on ink with my brayer, place the fabric and print it using my baren.
For my second design, I have a clean gelli printing plate and I am moving it since I want to change the design. Rather than roll the ink, I am using a synthetic colour shapers so paint on my lines. You could do this with a traditional paintbrush, but I like the synthetic ones because they do not absorb the ink.

In this third video I am printing my last layer. Rather than using store bought gelli printing plates, I am using homemade. I am rolling my pink ink onto my gelli plate and because my homemade gelli plate is wigglier, I set my fabric down on my template and place my gelli plate on top of my fabric to print.
I really enjoy the flexibility that gelli plate printing gives me. If you would like to know more about the type of tools for linoleum block printing, check out my other blog post!